
1. Login/register Webflow
First, you need an account with Webflow so that the next step is to copy the client-first system to your dashboard for free. Unfortunately, after copying the client-first system, we are no longer able to create more pages in the free plan. Here it makes sense if you create websites for customers, at least one Freelancer workspace* to own or, if you create the site for yourself, directly one Site map* to book.
Create your free Webflow account*
2nd clone client-first system
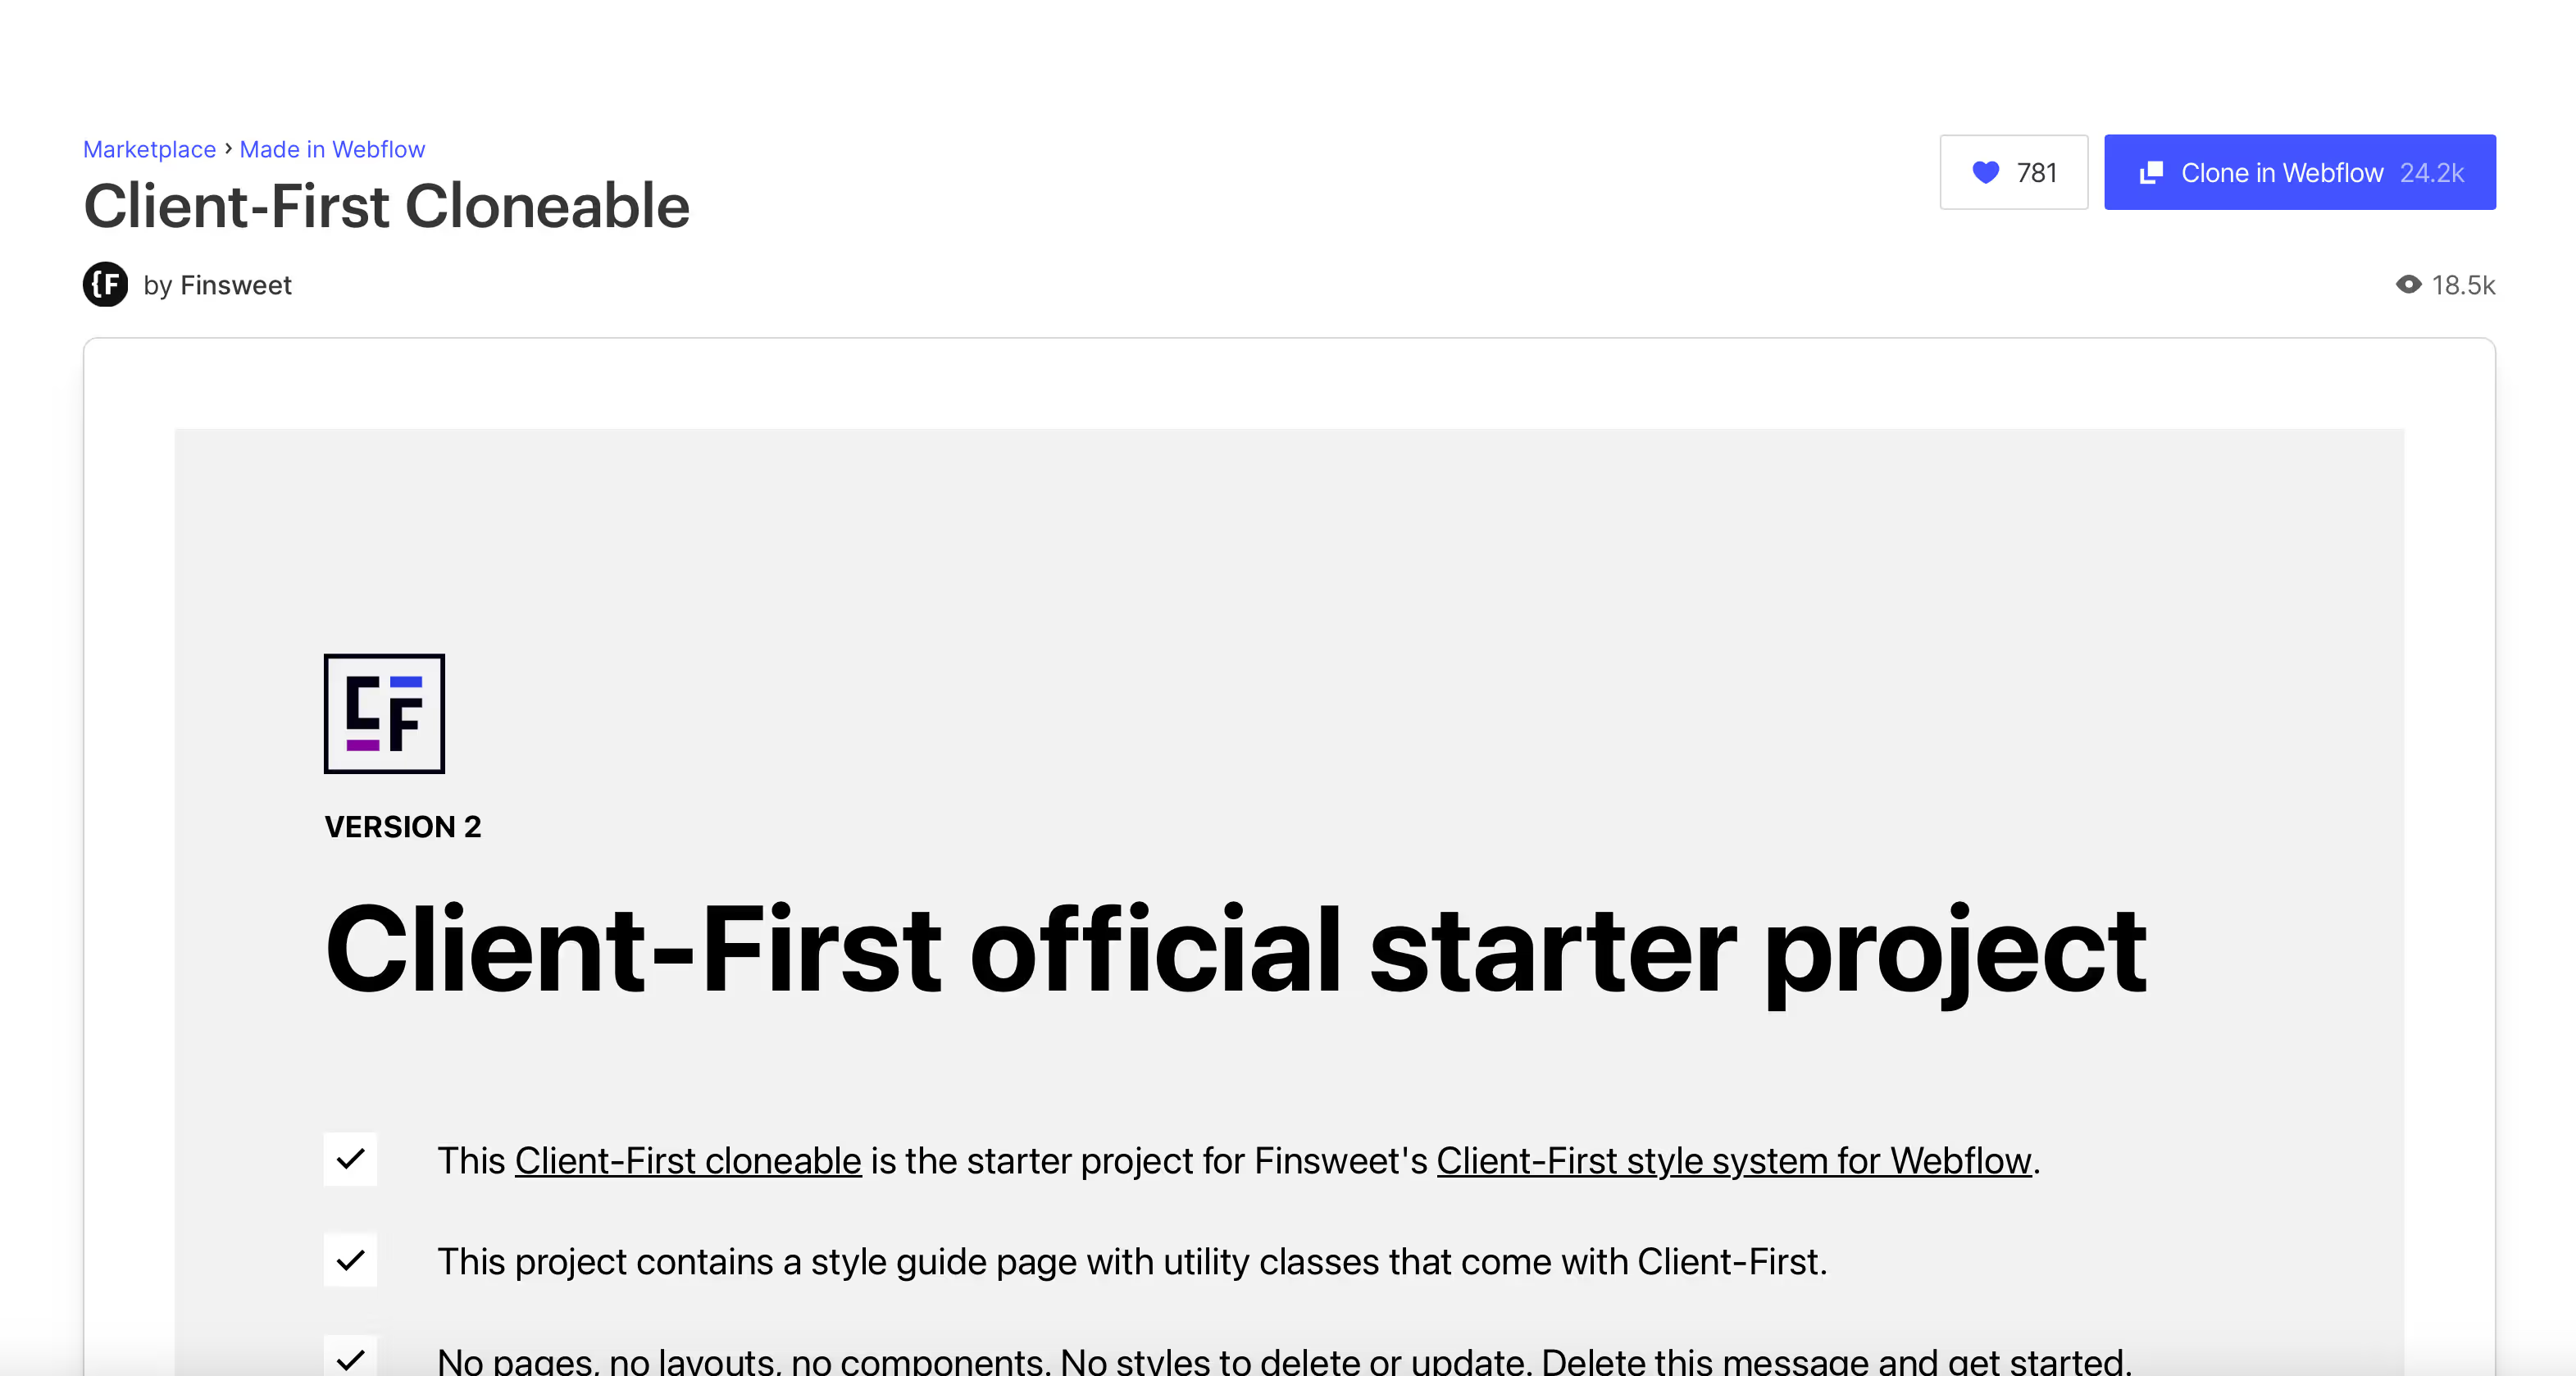
If you're the proud owner of a Webflow account, you can copy the client-first system created by Finsweet for free. Finsweet did the work and created all relevant elements and CSS classes for you. This saves you a lot of time and allows you to easily adopt the very sophisticated system. To make your life even easier, Finsweet has the whole thing Client First System documented here for you*.
Go to Finsweet Client First Cloneable
Alternatively, you can also download the Client First Wireframe Kit with many ready-made sections.
About the Client First Wireframe Kit
3. Add Webflow library
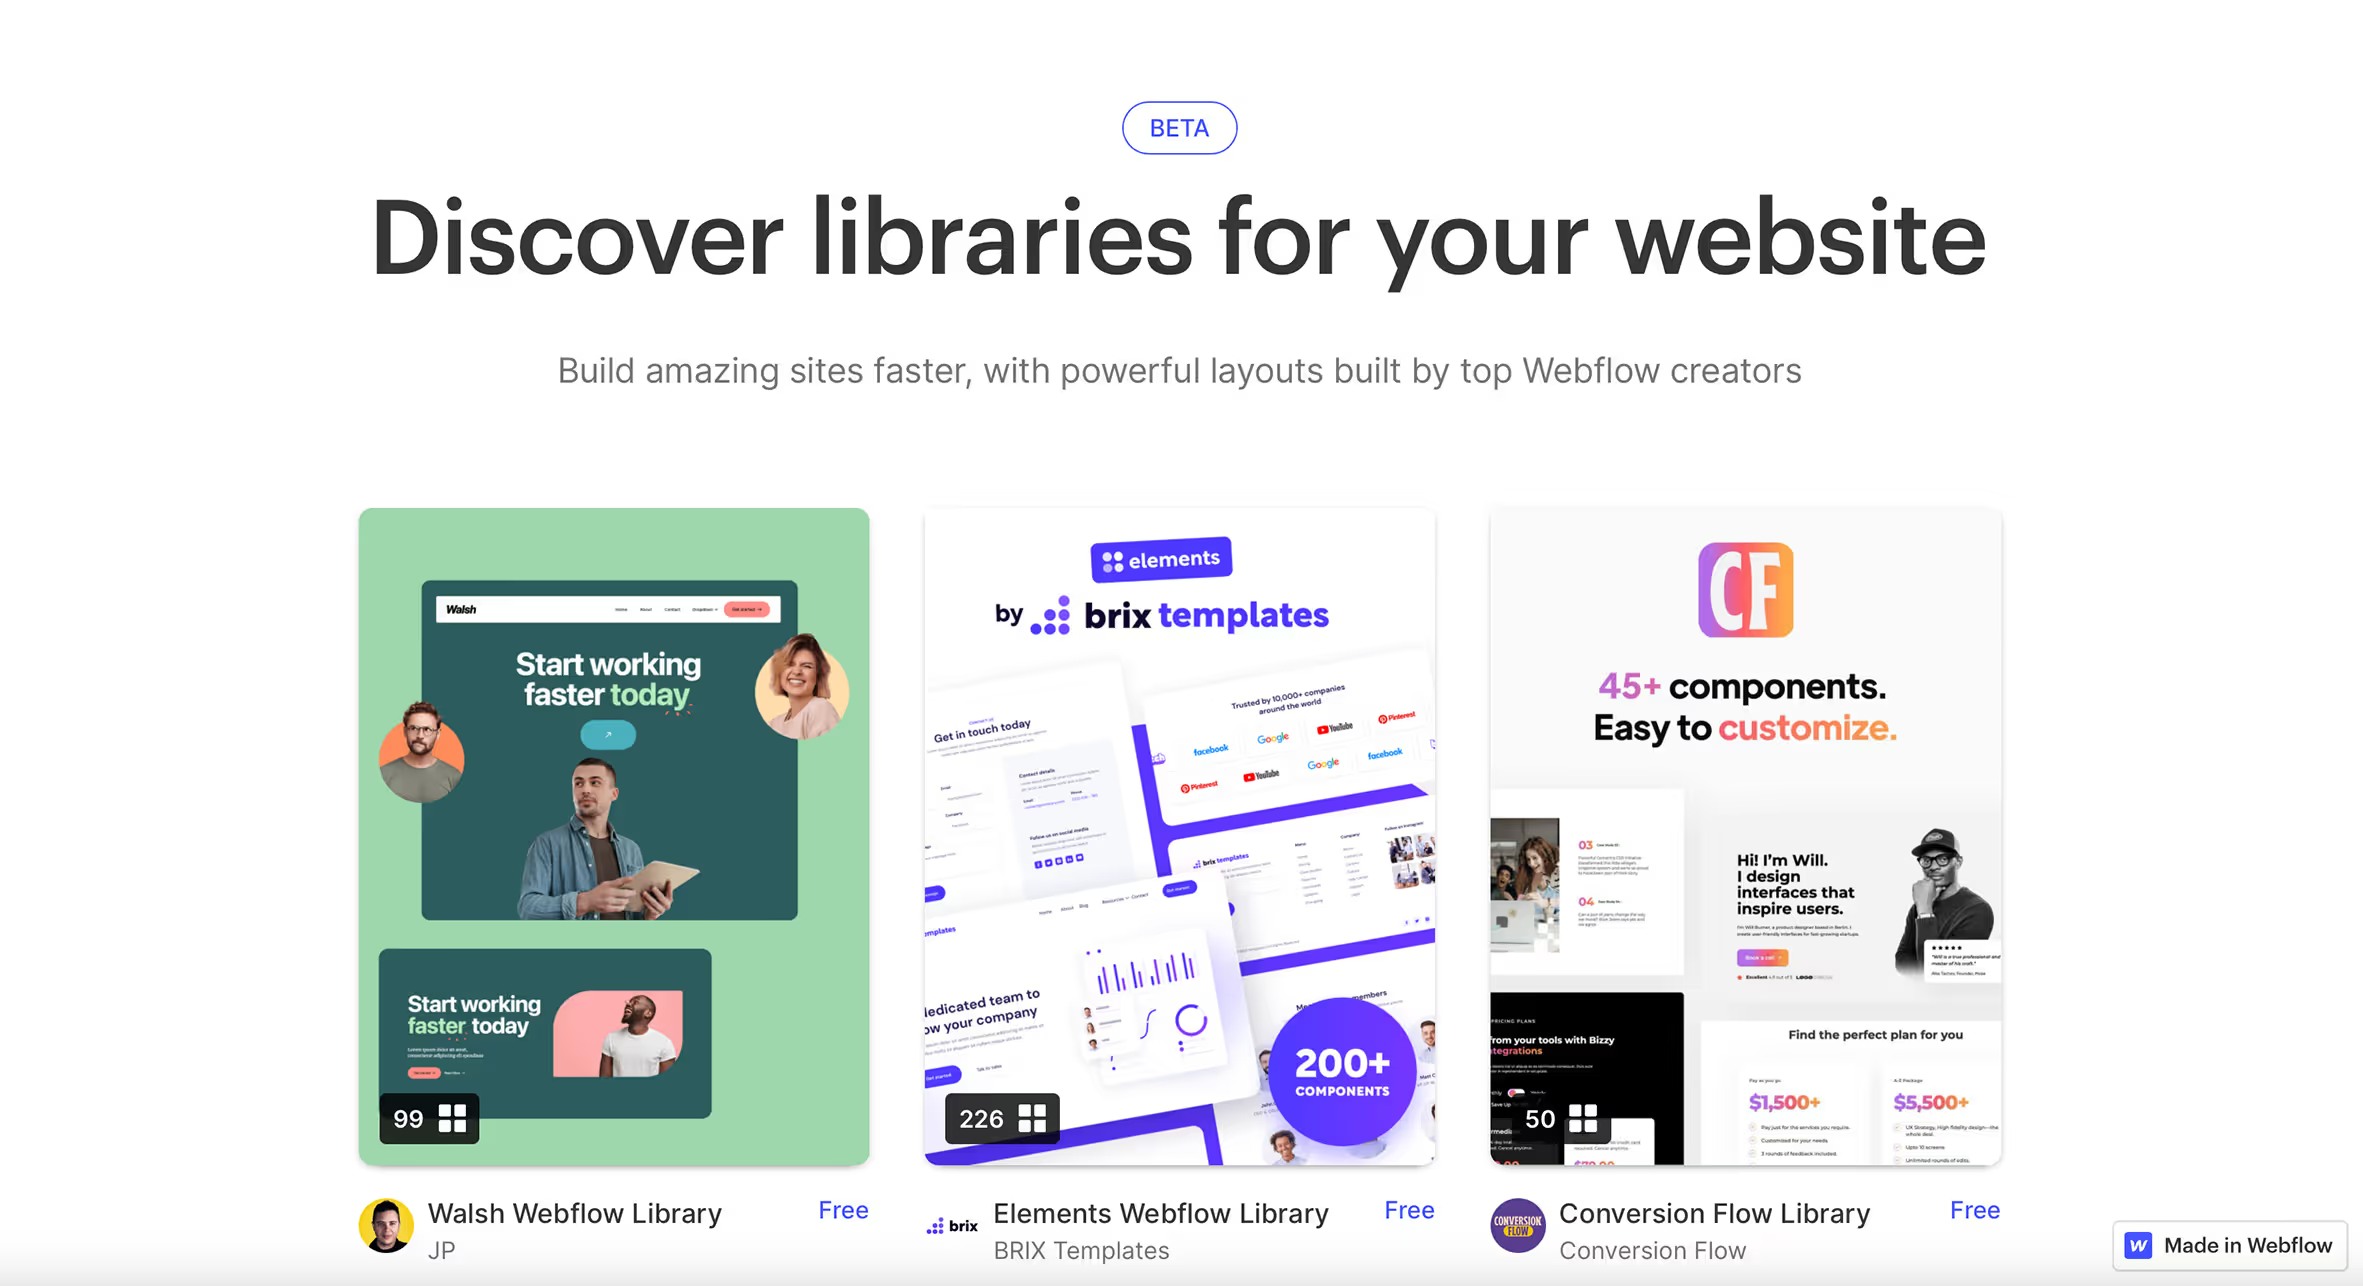
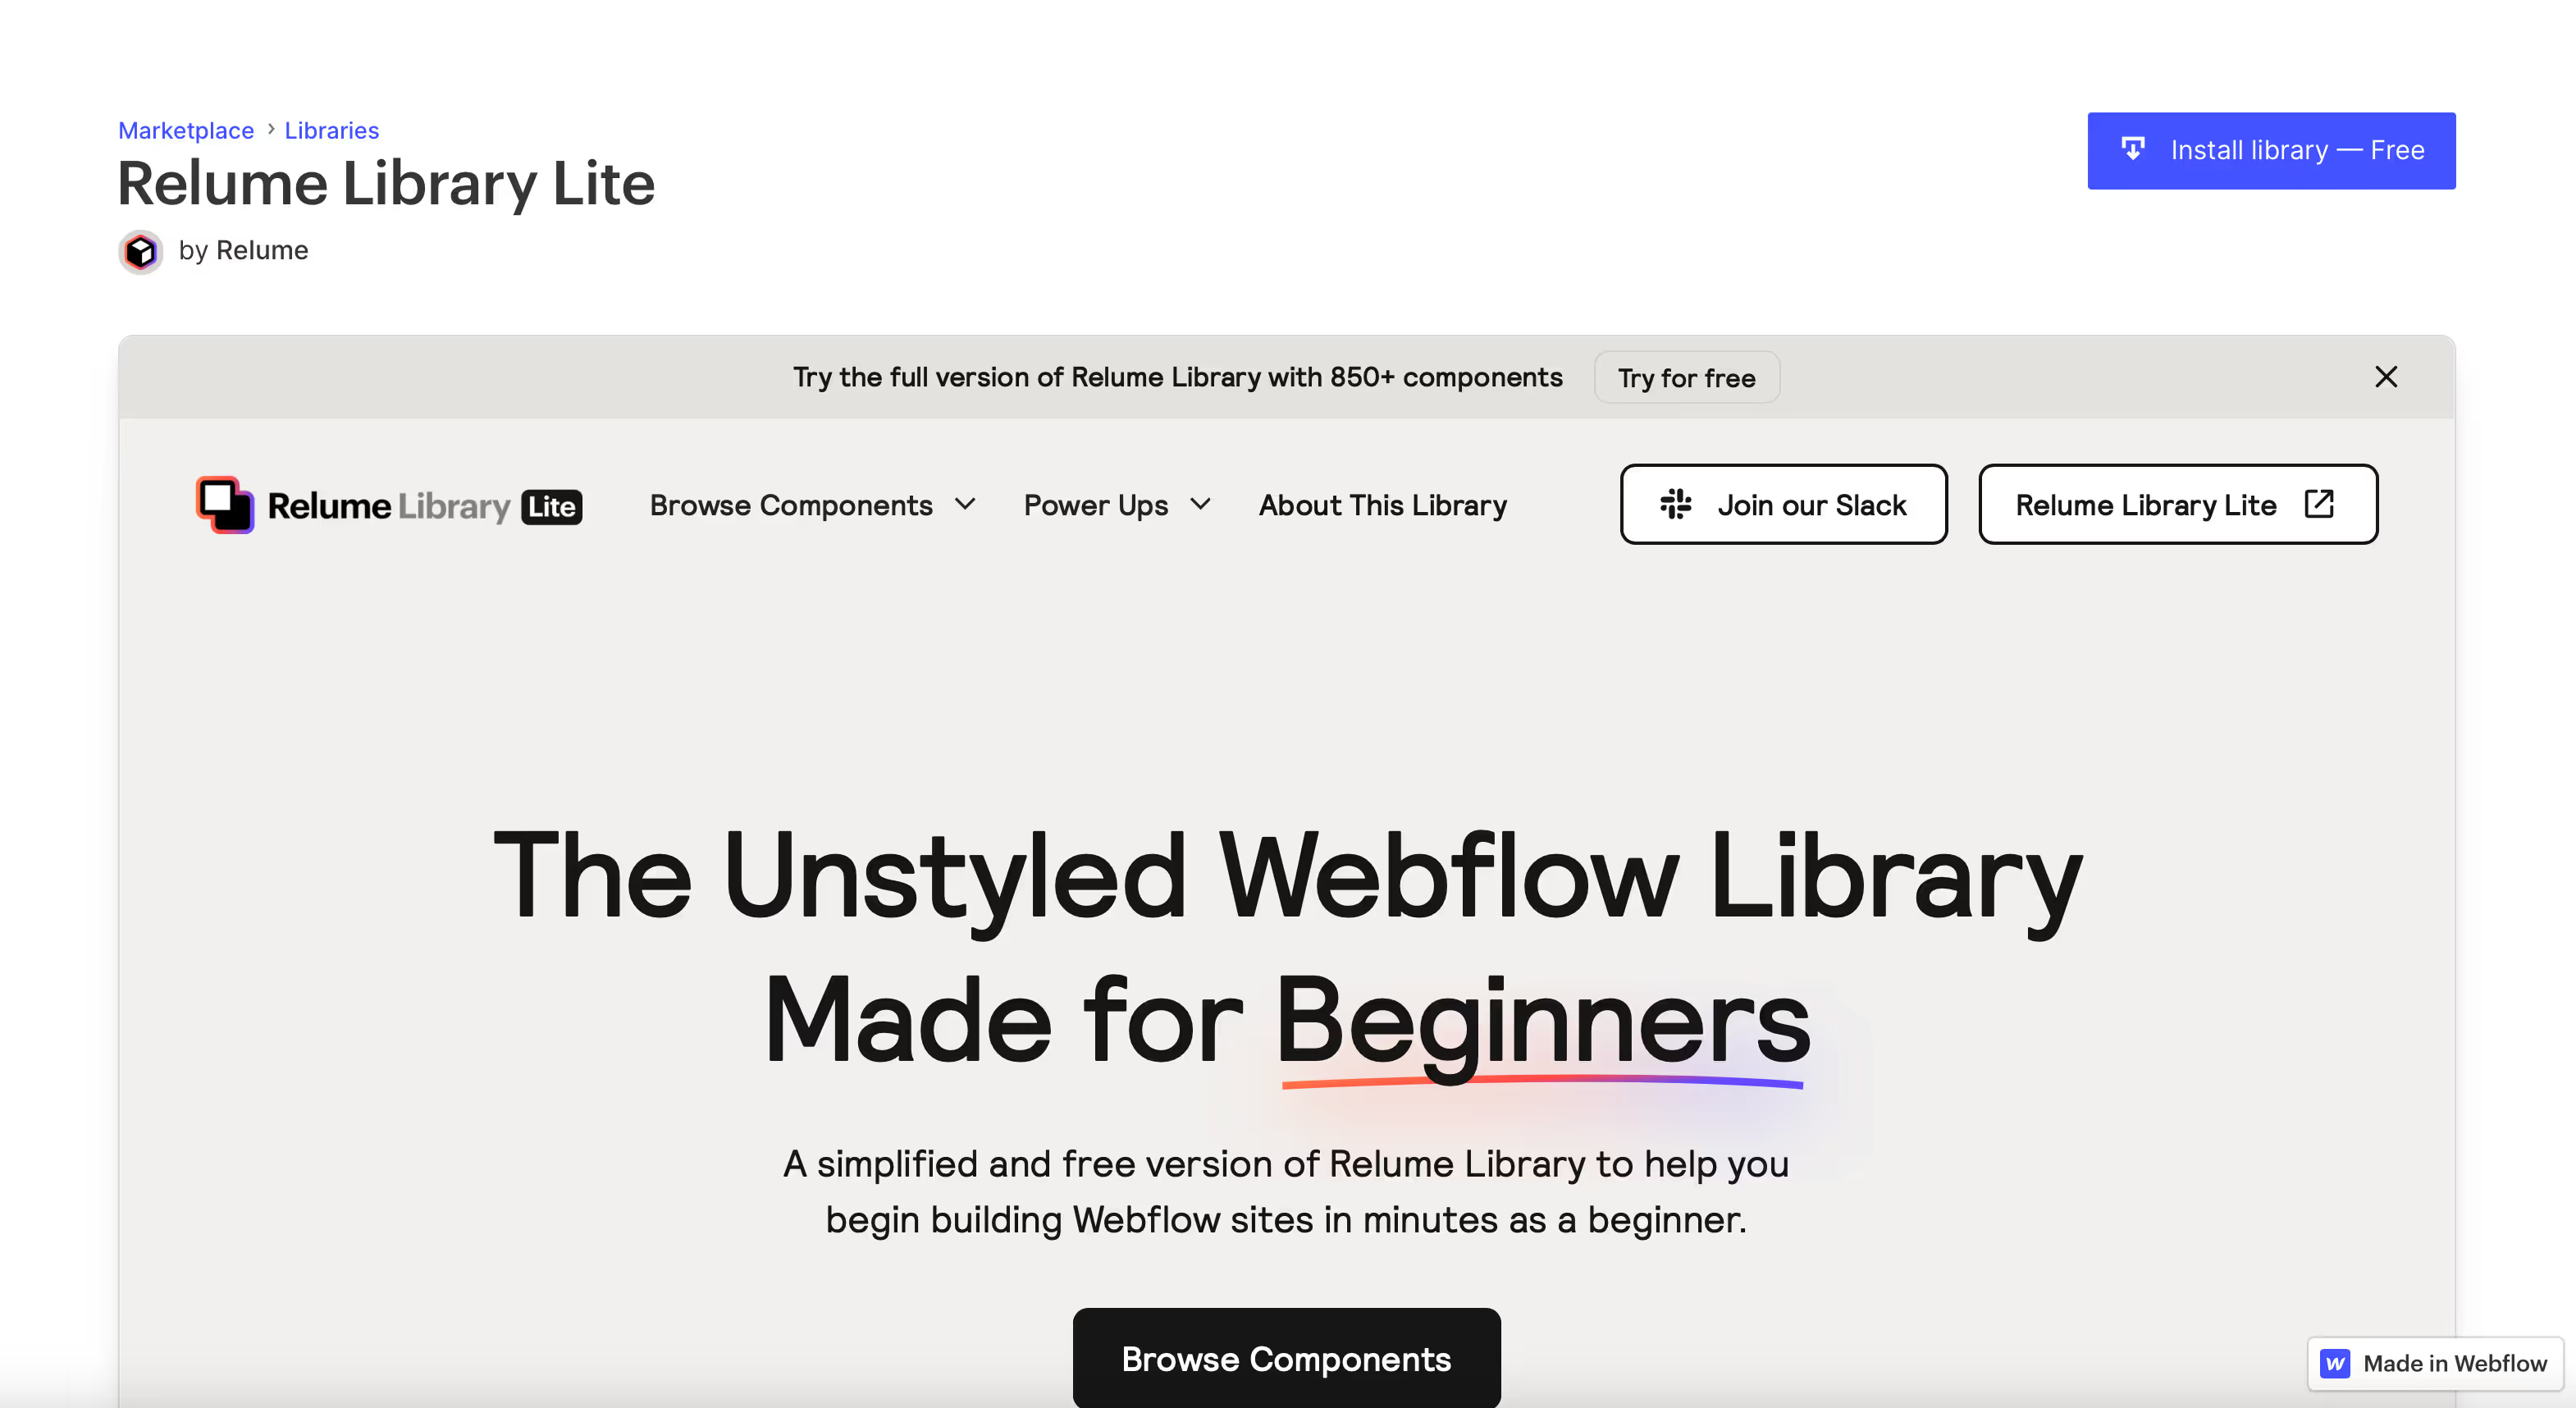
To make it even easier for you to create, it's a good idea to add a library provided by Webflow and partners to your project with one click. The Relume Library Light is free of charge and works seamlessly with the client-first system.
4. Fluid Responsive
We want our design to scale accordingly when the browser window size changes. Finsweet provides us with code for this, which we only need to integrate into our website (Global Styles). This process takes less than two minutes, but it has a big effect on our project.
About the Fluid Responsive Code
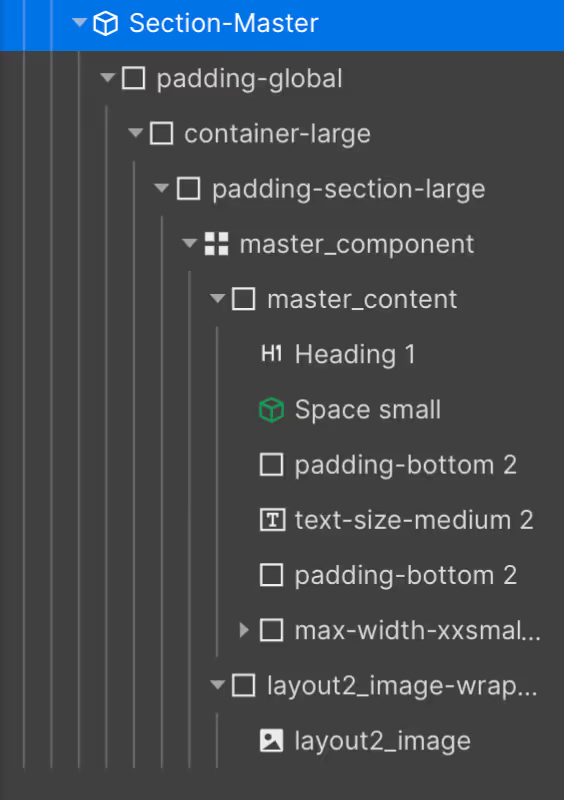
5. Create folder structure pattern
The client-first system is based on a uniform system of CSS classes and their nesting. Here, a sample section, converted into a component, can help you reproduce your structure quickly.
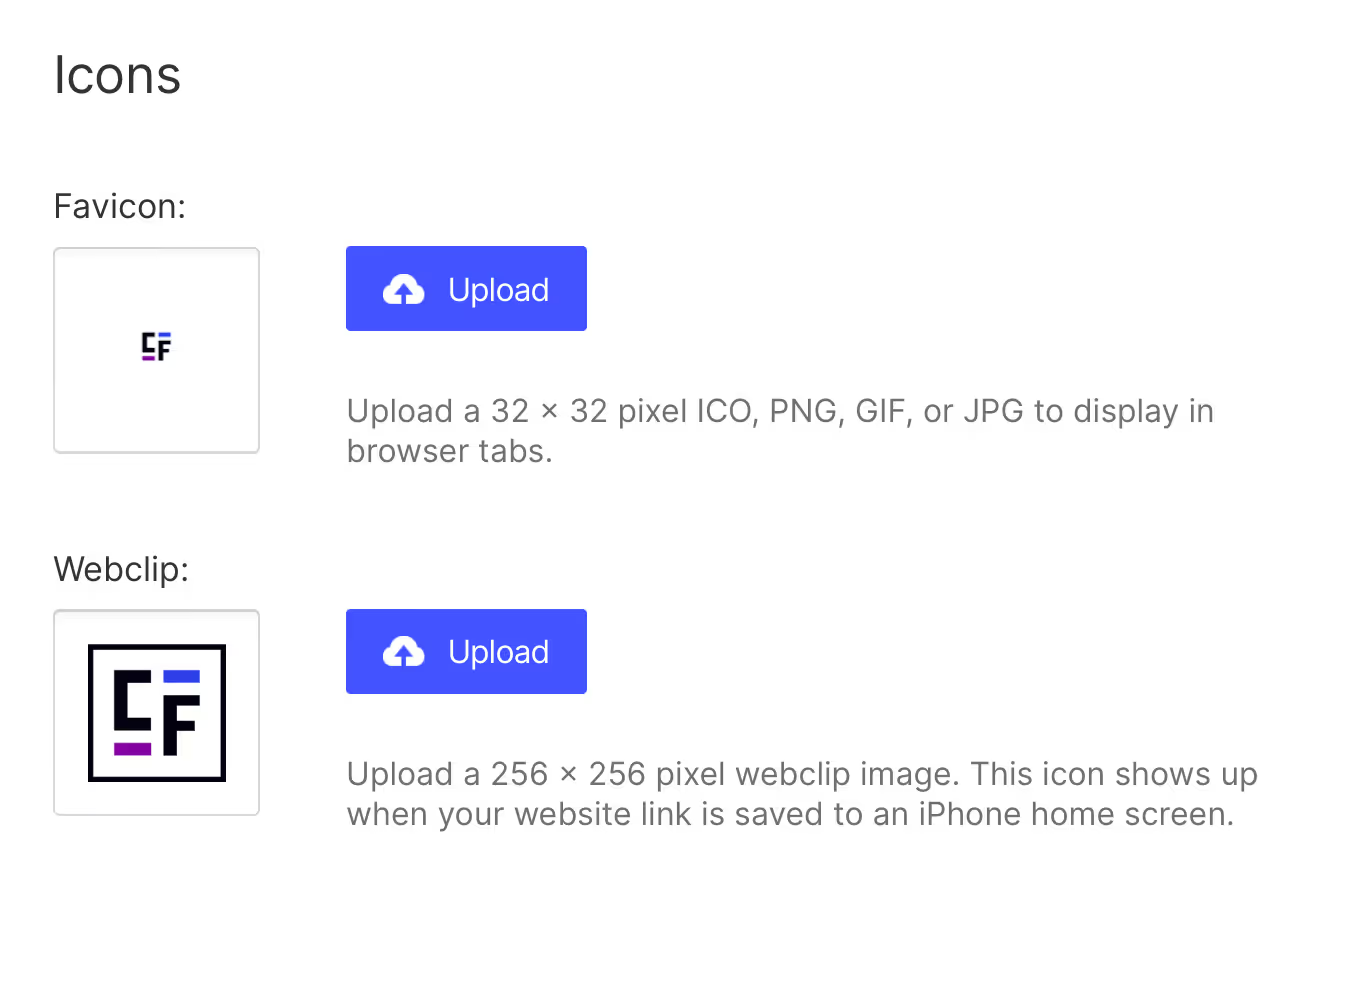
6. Add favicons
So that this step is not forgotten at a later stage, I am already adding the corresponding favicons to the page.
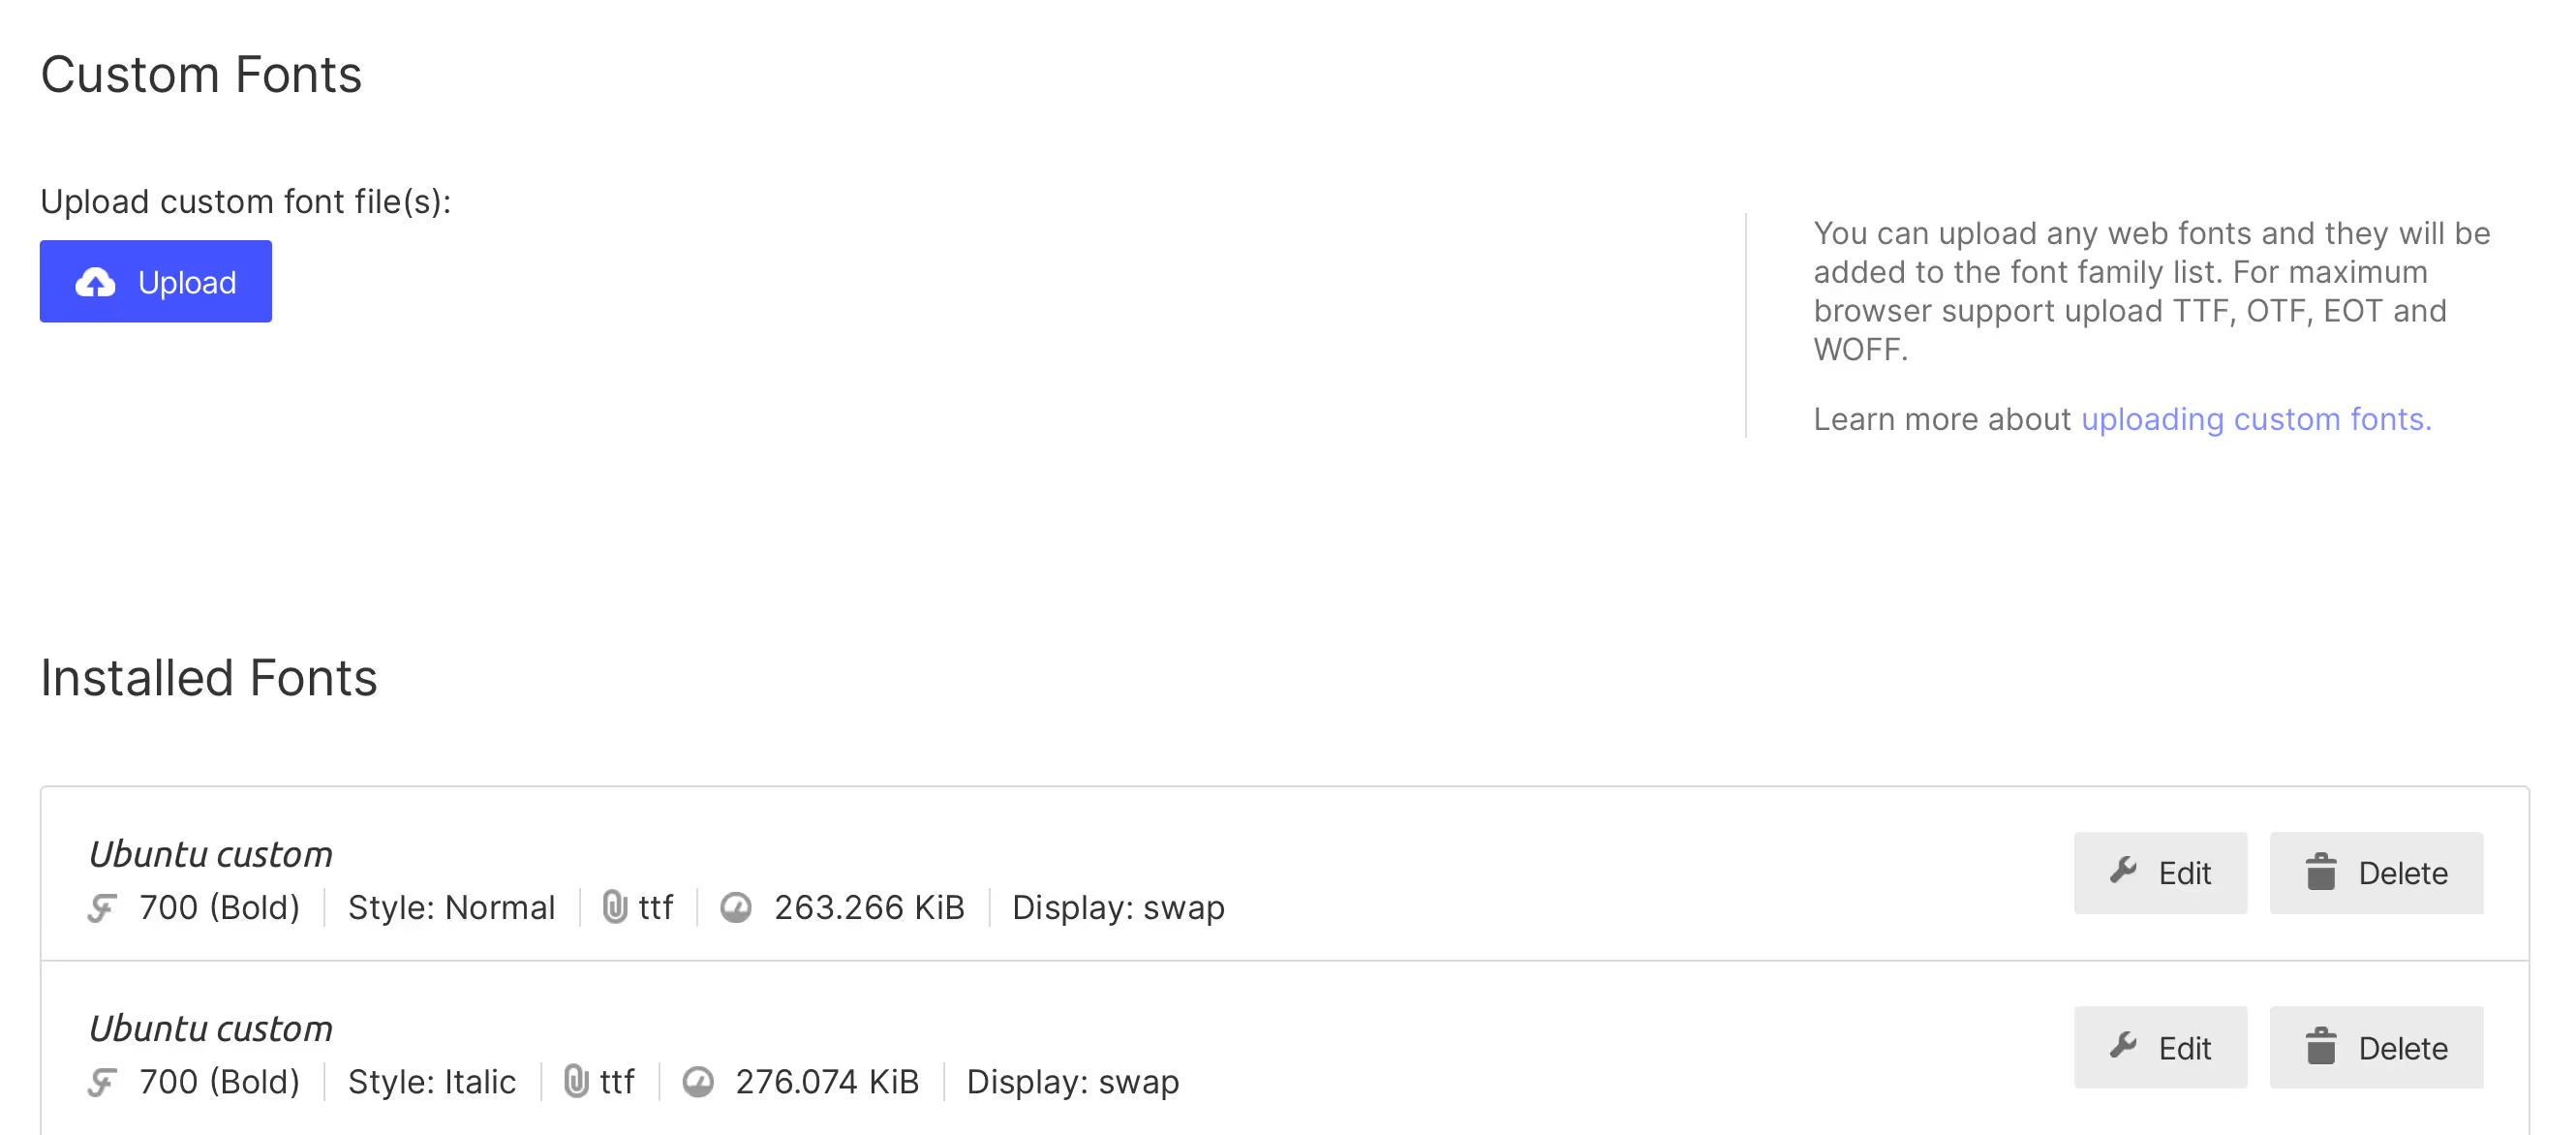
7. Embed fonts locally
In order not to integrate Google Scripts into the page, it is recommended to integrate the fonts locally. A clear naming also helps you identify whether you're using a local font or a system-provided font. I always add the word “custom” to my local fonts.
To see if you're using Google Fonts on your website, you can use the Font checker from E-Rech 24Use (be careful, this only scans one page and not your entire site) or explore your site using the Google Developer Console.
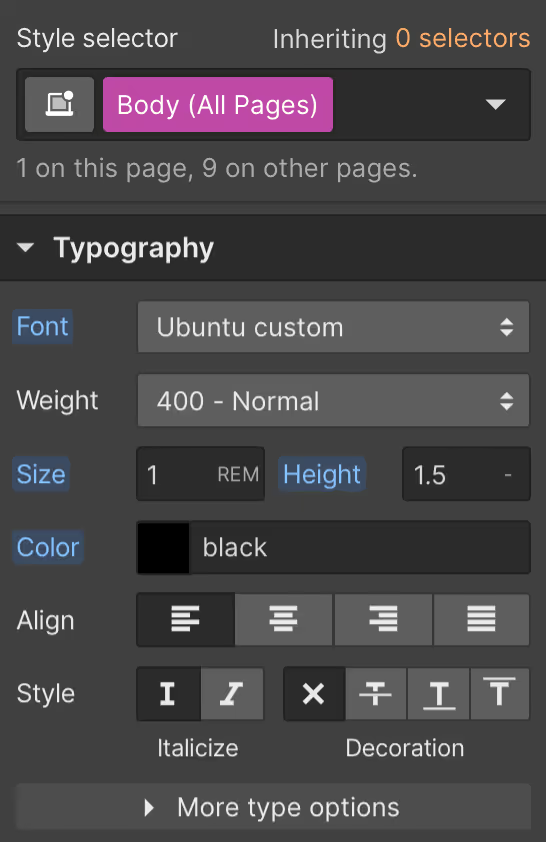
8. Add local fonts to your website as the default font
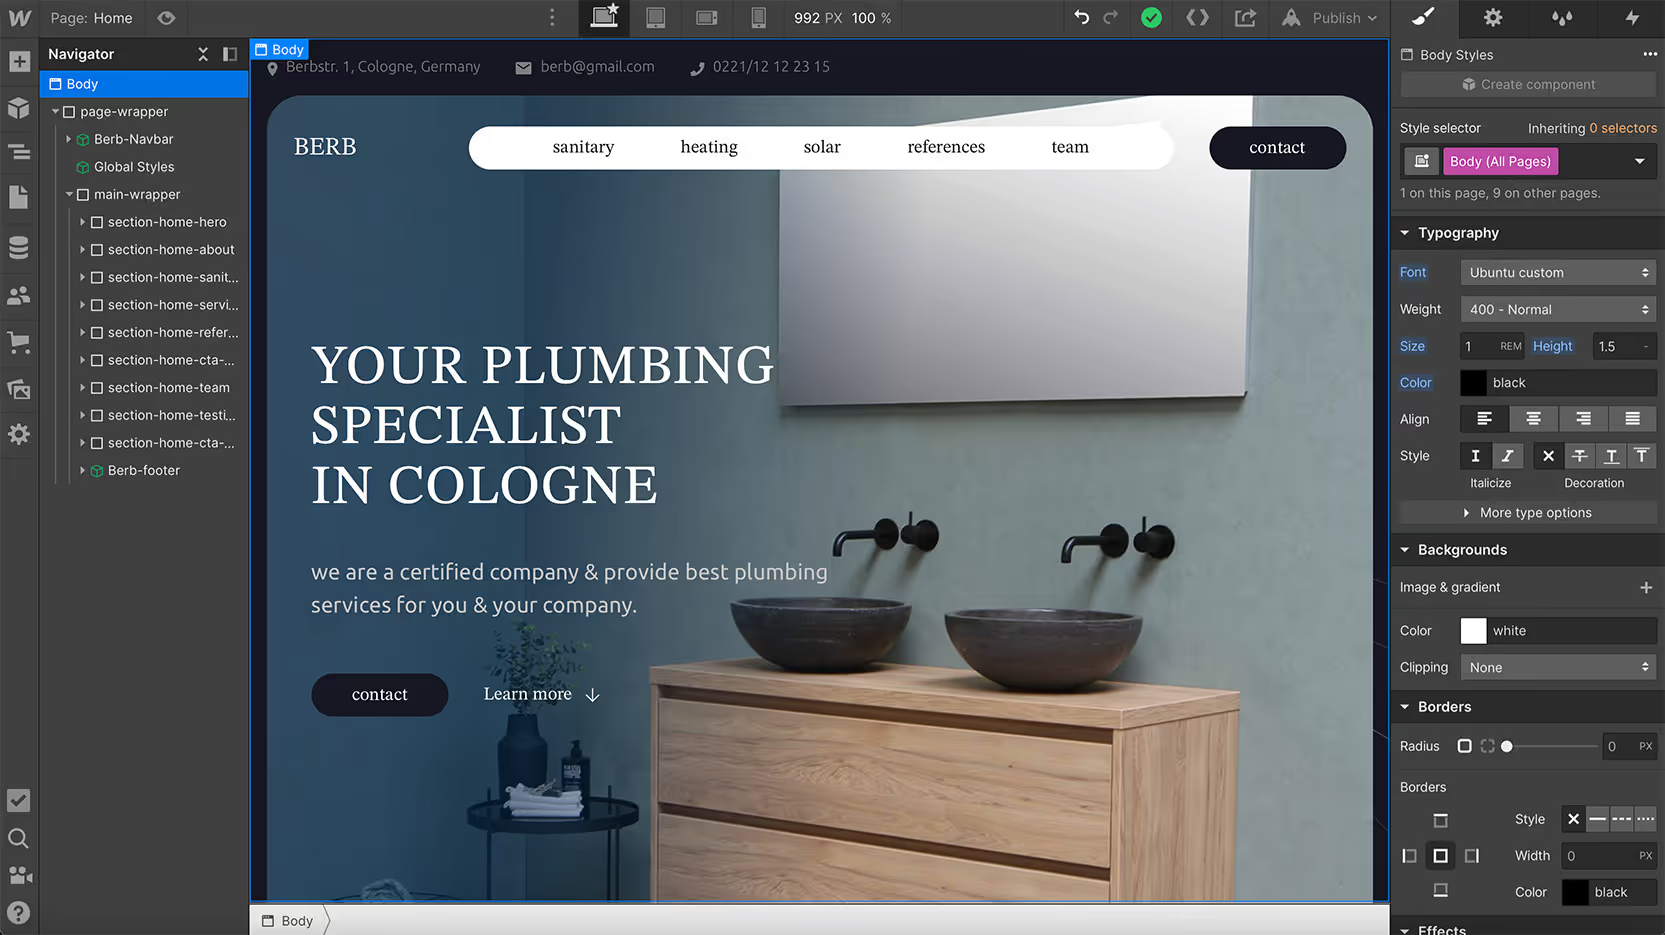
The fonts are integrated locally, now you have to make sure that they are also used throughout your project. You can add the desired font to the body element, so you've set your font as the default font. In the next step, you can click through your style guide page and replace all fonts that are not yet locally integrated with your custom fonts.
9. Implement a Project in a Client-First System
You're done, now you can get creative and implement your Webflow project according to your wishes. Have fun with it!
to the design subscription from Marchdept.
*Affiliate links


